
Quickstart
Install Telark, sign in as the first admin, and watch a protection plan record a change.
Time: about 10 minutes, most of it waiting for images to pull.
Prerequisites
| You need | Detail |
|---|---|
| Kubernetes | 1.30 or newer |
| Helm | 3.x |
| Access | cluster-admin for the install |
| Storage | A default StorageClass, which managed clusters and kind, minikube or k3d already have |
kubectl | Pointed at the cluster |
Full list: System requirements.
1. Install the chart
Replace test@example.com with your email. It names the bootstrap admin, and the chart refuses to render without it.
helm install telark oci://ghcr.io/telark/charts/telark -n telark --create-namespace \
  --set app.auth.bootstrap.admin=test@example.com
Already running Kyverno? Install with the bundled Kyverno disabled and Telark uses yours:
helm install telark oci://ghcr.io/telark/charts/telark -n telark --create-namespace \
  --set app.auth.bootstrap.admin=test@example.com \
  --set kyverno.enabled=false
Telark is tested with Kyverno v1.19.2, the version the chart bundles, and needs Kyverno 1.18 or later with the policies.kyverno.io CRDs. With your own Kyverno, change history names no author, because the chart installs the policy that records authors only with the bundled Kyverno.
2. Check that it is running
kubectl get pods -n telarkYou should see every pod Running and READY.
3. Enroll the first admin
Create your account and a one-time enrollment link:
kubectl exec -n telark deploy/telark-auth-service -- ./main break-glass --email test@example.com --enrollIt prints a link like <dashboard-url>/register#enroll=<token>&email=test%40example.com, valid for 10 minutes, and one step: open it in a browser that is not signed in to Telark, such as a private window.
4. Open the dashboard and register a passkey
kubectl port-forward -n telark svc/telark-ui-service 3000:8080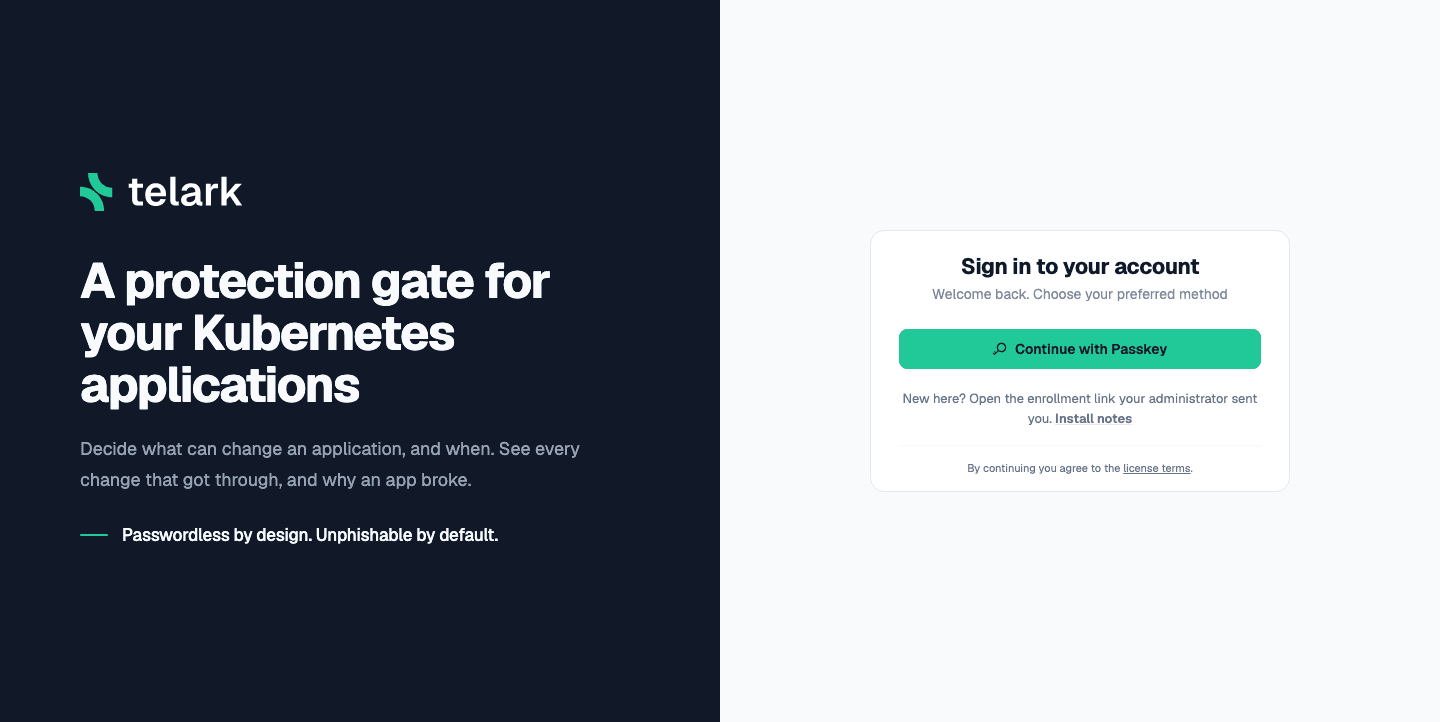
Open the link with http://localhost:3000 in place of <dashboard-url>, and register a passkey. Passkeys need a secure origin; http://localhost counts as one. Use Chrome, Edge or Firefox here: Safari drops the session cookie on http://localhost. Open localhost, not 127.0.0.1.
You should land on the dashboard signed in with the Admin role. Until you create a first plan, the home page leads with a Get started card.
5. Deploy a demo application
kubectl create namespace demo
kubectl create deployment web --image=nginx -n demo
Open Applications. Within a minute you should see an application named web in the demo namespace. Telark grouped the Deployment by its app label.
6. Create a protection plan in audit mode
- Open Protection plans and choose Create Plan.
- Details: name it
quickstartand pick any severity. Leave Classification empty (not Production) and Execution & approval on Automatic. - Scope: choose Applications and select
web. - Policies: keep the mode on Audit and add Changing replica counts.
- Schedule: choose Permanent.
- Check the summary under This plan will, then choose Create and start auditing.
You should see the plan as Active. Open it: within about 30 seconds the Health panel reads Healthy, which means Telark found the Kyverno policy it expected in the cluster.
7. Make a change the plan would block
kubectl scale deployment web -n demo --replicas=3In audit mode the change goes through. Refresh the plan's Admission decisions: you should see one row for web with Result: Would block, the message Replica scaling would be blocked by protection plan "quickstart". and, under it, by followed by your Kubernetes username. In enforce mode the same command fails at admission with Replica scaling is blocked by protection plan "quickstart". (requested by "<username>").
Open the web application: its history shows the scaling change and a snapshot you can roll back to.
Clean up
Cancel the plan from its detail page, then kubectl delete namespace demo. To remove Telark, see Uninstall Telark.
Next
- Roll back an application to the snapshot you just created.
- Create a protection plan for a real window, with approval.
- Install for production: sizing, an HTTPS hostname, and Google sign-in.
- Invite people: create their accounts under Administration → Members and send each an enrollment link.